This is a modification of the total repair of the original part of the roof that extends over my 1907 house creating the soffit that is rotten. Cut out only what is rotten in this case and replace with strong support and waterproof boards.
[Note state of water intrusion.]


[First: Ripping off all soffit and support boards. This shows water damage, but it is not the entire roof board support, only half of it. Test by how soft it is with any tool like screwdriver.]


[Next: Once all support and soffit boards are gone, the shingles are cut and that is the line to follow to cut the roof. There is a shingle cutter for a multi-tool. ]


[Scaffold is a good investment for long term renovation, very safe. Note brown tarps on lower roof skirting, you will drip paint and caulk, trust me.]

[Now cut roof boards. ]


[Connecting to previous repair later. ]

[Old roofs are never perfect, using a back board 2x4 support will help keep things straight and avoid putting your supports on bumpy surface.]


[Fill the cutouts where support boards were in my case. 2x4 seem to work, may need to sand down a little depending.]


[In my case i have stucco on board then flashing and then internal boards. So when I put back board on I need masonry drill.]


[And all the odd spaces as you need a fairly flat surface with as many points to screw into as possible.]

[Caulk it all up, nothing from house, nothing into house.]


[Little trick to avoid paint on shingles as paint is need to waterproof as job takes a long time, does not work everywhere.]


[Backboard is installed. 2x4 firmly screwed into wall. Notice painted wood, this waterproofed it while working on it, the caulk keep water out also.]


[Joining to some of the old boards that are with the new boards can be tricky, more later on this.]

[Soffit supports installed.]

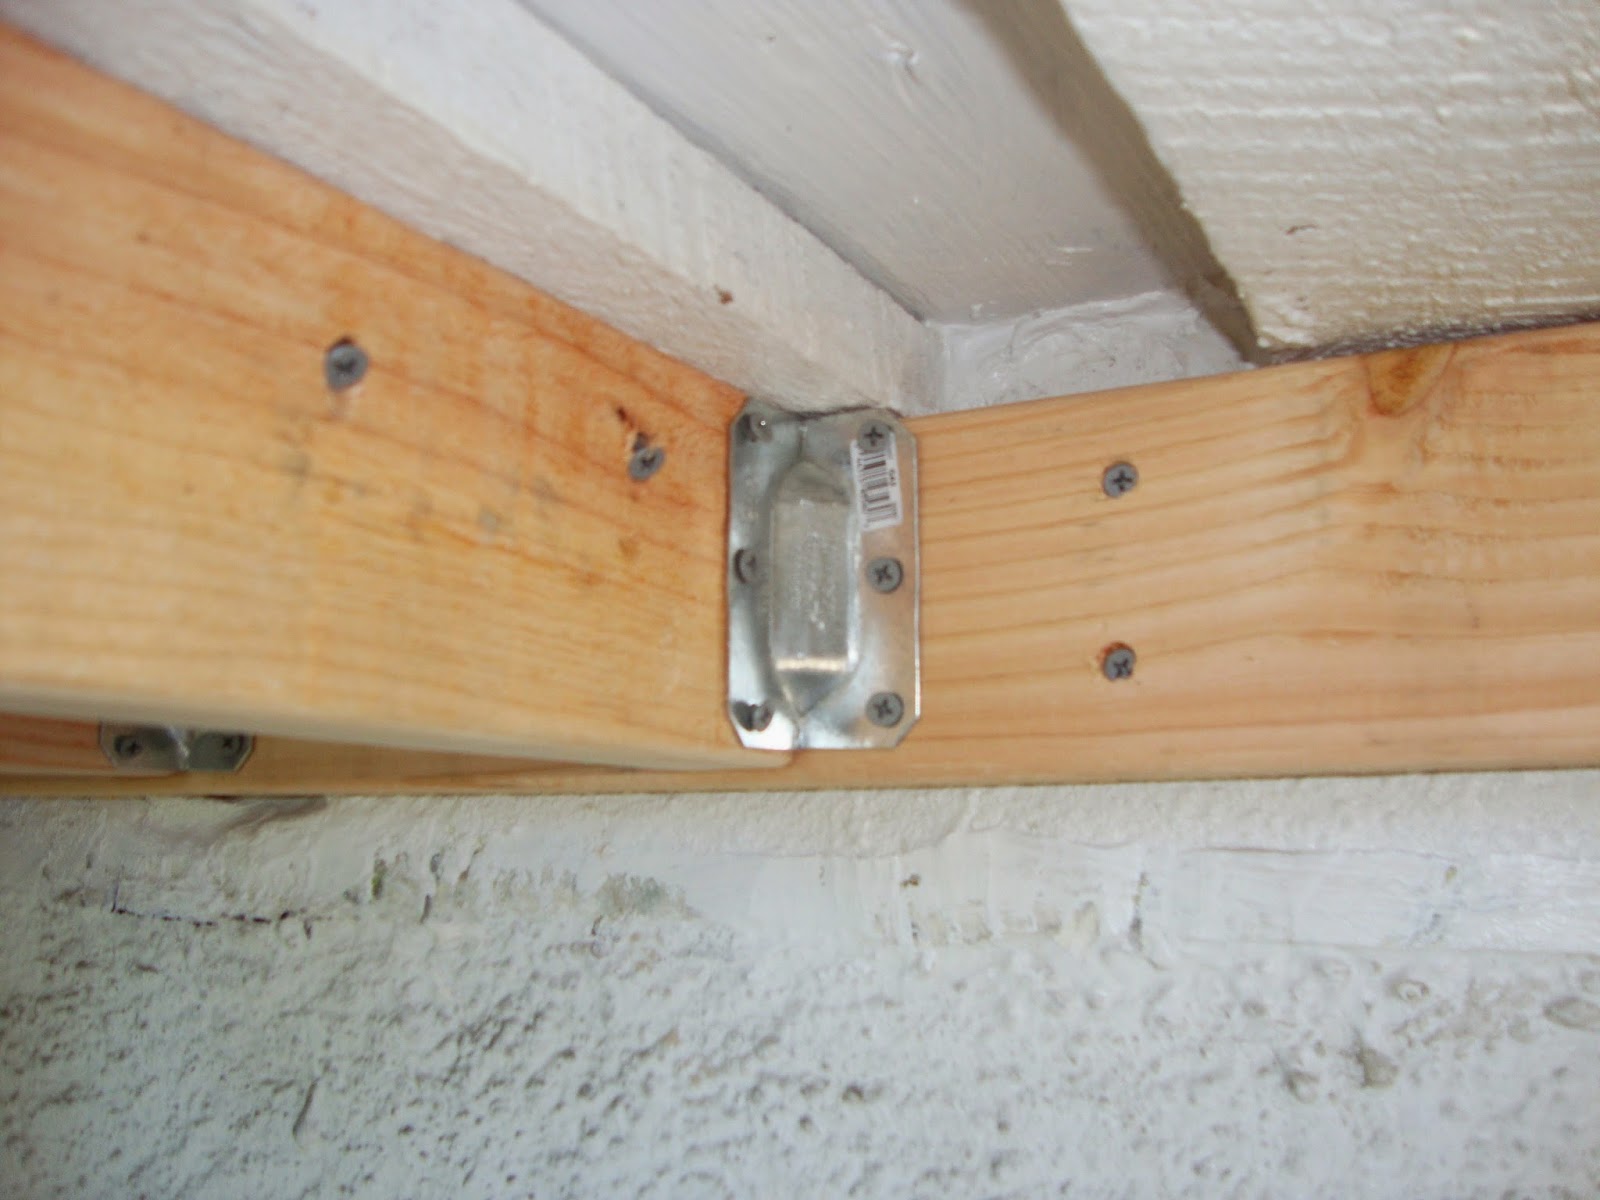
[Note brackets, they do the job. And screw into roof board. Backboard also helps realign roof.]


[Get quick clamps, they really help, also ou need the compression to get a good binding with the screw.]


[To match the real roof soffit, it is off a little when we meet it. There are many ways, but I chose to frame it out to meet the size of the space needed. A metal straight edge - right angle steel is perfect showed me exactly where I need to build to. Get the right depth of boards and install - that is why it is good to keep odd pieces around so you do not have to make them all the time.]


[End frame comes out very strong in joining to the back roof done quite a while ago.]


[Now roof boards.]

[Plywood nailer.]


[Joist straps for extra support, I double them up.]


[Backboard helped keep all nice and straight.]


[I use PVC flashing on roof.]


[PVC soffit boards.]

[But I decided to used a smaller vent opening as this allows for me to attache screening easier with more areas to screw to.]


[Shingles and silicon caulk. Those gray things are ant traps, they work as they go for stuff that falls off the trees and make way into the wood of house. Really gets rid of them.]


[Screening. I used 2 types of gutter screen, one white, one wire, it works.]


[And paint and refinish windows while you are up there.]

Hey Nice Blog!! Thanks for Sharing!!! Wonderful blog & good post. I really enjoyed this article, waiting for a more new post. Keep Blogging
ReplyDeleteHouse Renovations in Dulwich